How To Save Costs on your Vespa Dent Repair And Scratch Removal
Owning a Vespa has one little downside. If you accidentally drop it, bump into something, or are in a minor accident then repairing a dent can be tricky and likely very expensive. Since the whole Vespa body is made out of metal, you will need to go to a body repair shop to have dents or scratches removed.
Removing a dent is something you would want a professional to do. After spending a lot of money it is even worse to have the damage replaced by a bad dent repair or paint job. However, if the dent or scratch is minor you might want to consider doing some alternative stuff yourself before checking your savings account.
Depending on various factors, the cost of a Vespa dent removal can vary from USD 150 to USD 1000. This type of work involves a lot of hours of labor. It can range up to USD 50 an hour in some countries. In countries where the labor costs are on average lower, it will be of course cheaper.
So let’s have a look at the points you should consider in terms of dent repair and whether or not it is worth the cost.
1. Postpone dent repair if Vespa performance is not affected
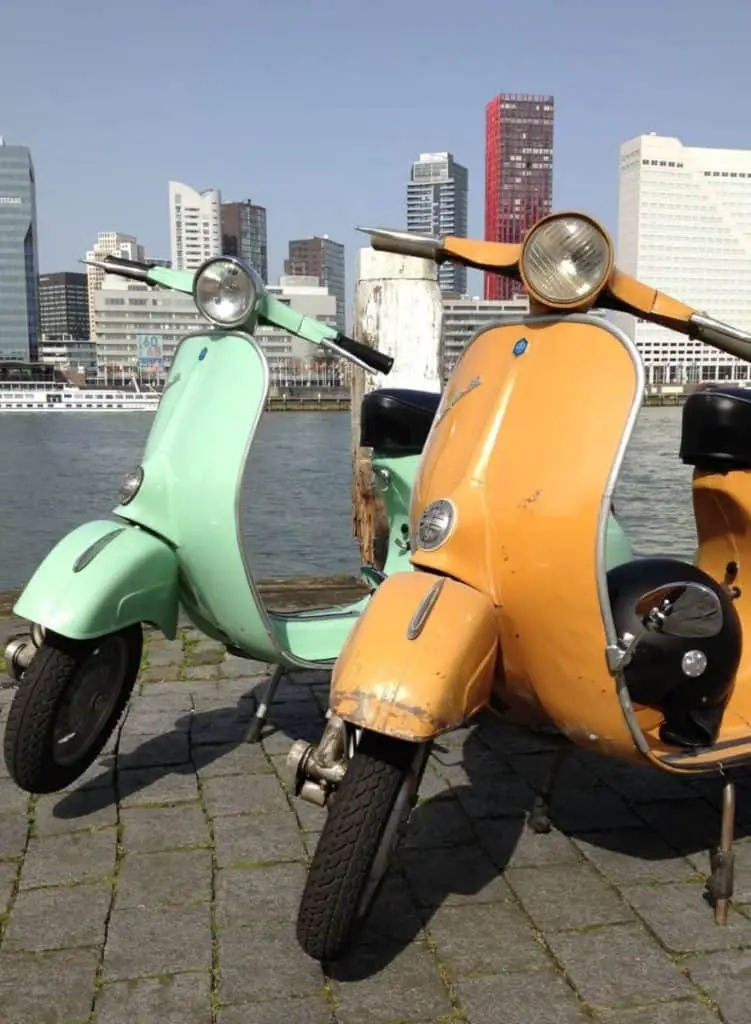
When you have damage to your Vespa the first thing you should ask yourself ‘Is it worth paying a lot of money to have the dent or scratches removed? Of course, a Vespa looks at its best if the metal and paint are still pristine, but in the end, it will remain a vehicle. All vehicles are prone to damage at one point.
For instance, if your Vespa is parked outside, then it is not always worth the money to dent out the frame. The Vespa can easily fall again with a slight gush of wind or a car might tip it over leaving you to return to the body repair shop over and over again.
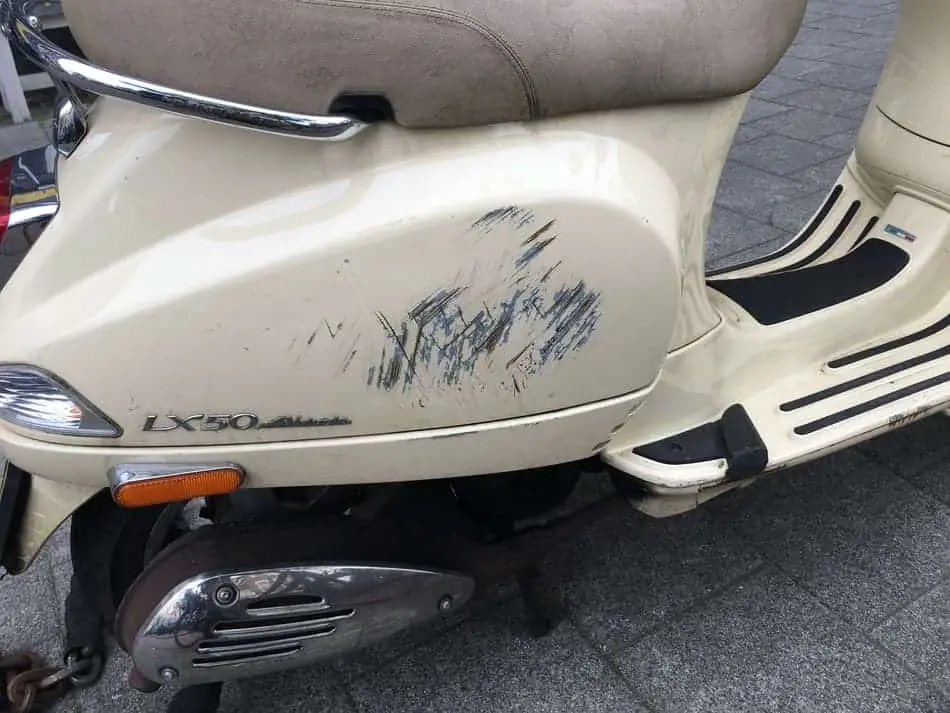
Also, little scratches on the mudguard, on the front shield, or even the cowl are common wear. It is part of owning a Vespa. Sometimes wear gives a Vespa character, especially a classic Vespa. Our V50 Vespa from 1974 has damages but the original paint is worth keeping it as it is instead of repainting it. Some Vespistas go for a more extreme ‘rat look’. Owners of these Vespa seem to not care about the appearance of their scooter making the Vespa look worn down.
But for a modern Vespa I can imagine it is a painful sight to see damage to the frame or paintwork but if you’re still buzzing happily around you might want to leave it as it is.
There are however exceptions. Some damages are worth having repaired if:
- Large paintwork has been chipped off. The exposed metal is susceptible to weather conditions which will result in rust.
- If you have a dent in your leg shield or footboard you might want to have it fixed too. Dented metal is much weaker making it easier to get more damaged if you are in an accident or if you hit something.
- A large dent in the frame is often a result of hitting something hard. If the mudguard or the leg shield is dented, make sure to check if the steering wheel is still aligned properly. It might be slightly bent due to the impact. Same for the cowl. Check if there are damages to the engine and other parts that are needed to keep the performance of the Vespa top-notch.
2. Go to a car body repair shop for dent removal
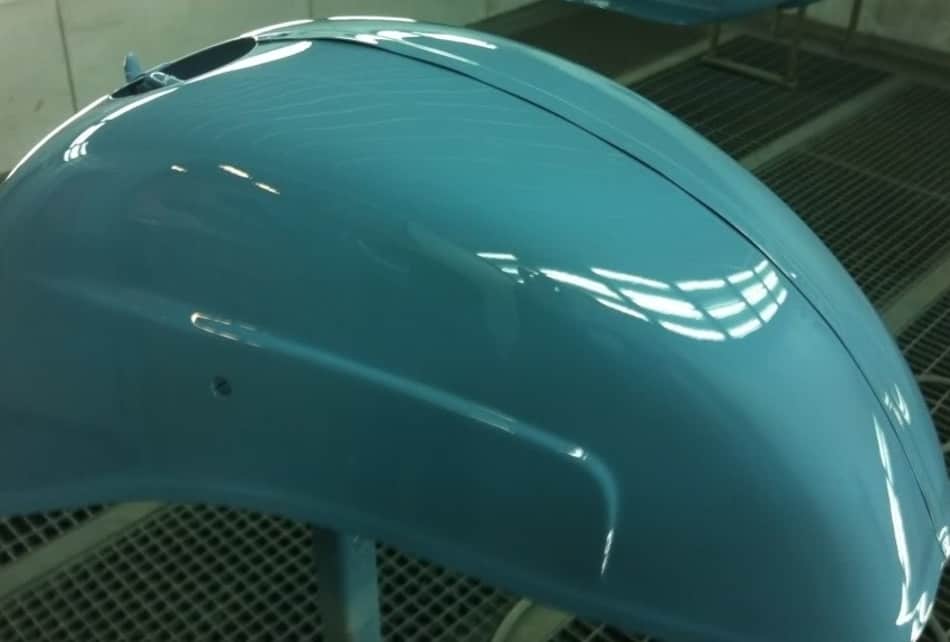
When we had a Vespa touring company we had to deal with a lot of damages and after a while, we became regulars at a couple of body repair shops. We didn’t have dents and scratches repaired immediately, but we would wait till it was worth the money to have large specific areas repainted. For instance, we would wait till both sides of the cowl would be damaged so the whole back of the Vespa could be repainted. This saved us a lot of money in the end.
We also noticed that we could save a bit more money by taking the Vespas to a car body repair shop. You might need to look around for some who are willing to take on a Vespa, but we noticed that many liked the challenge.
A car body repair shop is a professional workshop that focuses on repairing dents, scratches, and repainting only. They have a huge cabin where the painting is done and often they can even find the exact custom color code. Perfect if you don’t have the exact color of your custom-colored classic Vespa.
We once brought a Vespa to the scooter dealer which was also a workshop. The owner did an excellent job and we were happy with the result. But we did have to pay much more than at the car body repair shop.
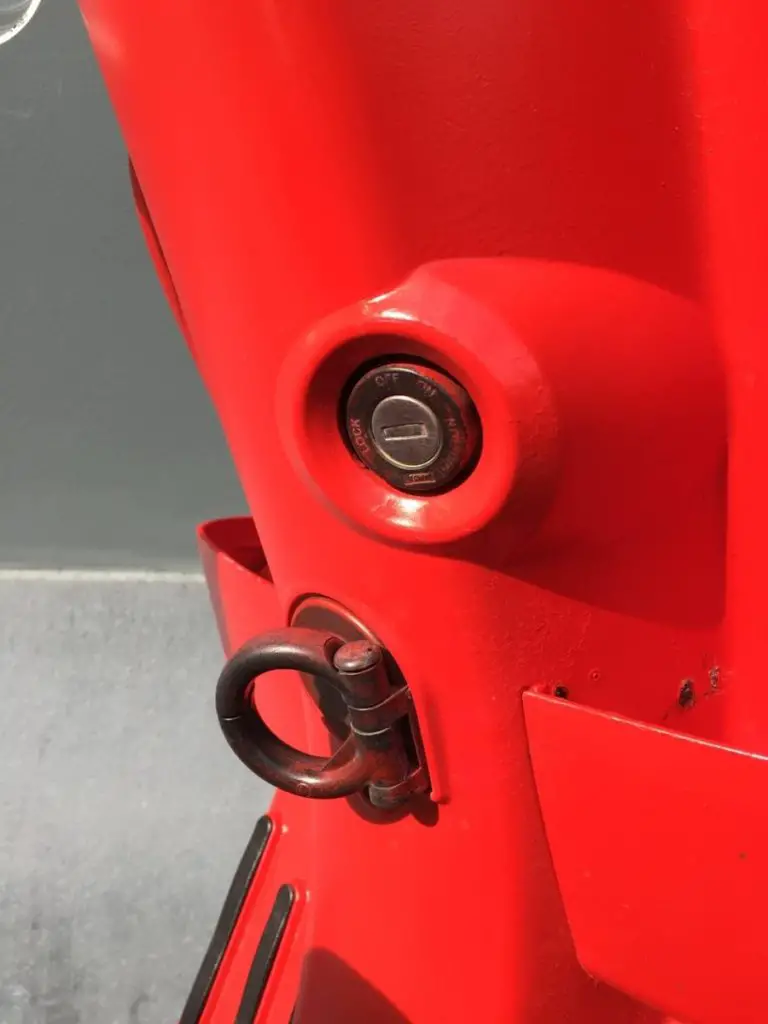
So if you are considering repairing a dent which includes repainting we advise you to also look around at car body repair shops. They are professionals and they do it every day. All the tools and paint are already there, ready for use which in the end will reflect on the price you will need to pay. In between jobs makes the price lower too.
However, if you feel like there is more going on than just the dent (steering wheel bent etc) go to a Vespa repair workshop to have the whole job properly done.
3. Type, size, and location of dent influence the repair costs
There is no doubt about it, having a dent or scratch repaired on your Vespa is going to cost you lots of money. Unfortunately sometimes even more than other types of scooter brands, and this is why:
- The Vespa frame is made out of metal. So if you need to repair a dent or scratch someone skillful needs to do it. It is a time-consuming process.
- The Vespa has a monocoque frame which means that the frame is one piece. The frames of other scooter brands are often made out of several body panels which you can remove. So if you have a dent on the left side of the leg shield, all you need to do is to replace it. This is not the case with the Vespa. If you have a dent you need to repair it. Except for the mudguard, you can’t replace anything.
As mentioned earlier, the costs of repairing a single dent on a Vespa vary from USD 150 to USD 500. We once had to pay USD1000 for the repair of our classic Vespa V50. The lower left side of the leg shield and the floorboard were bent and there was a huge dent in the left cowl.
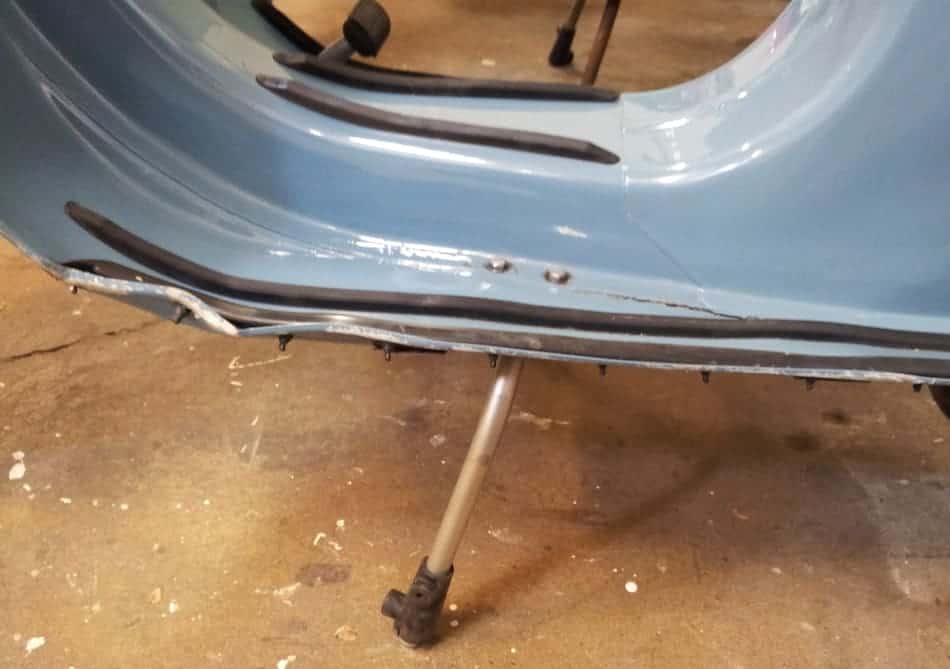
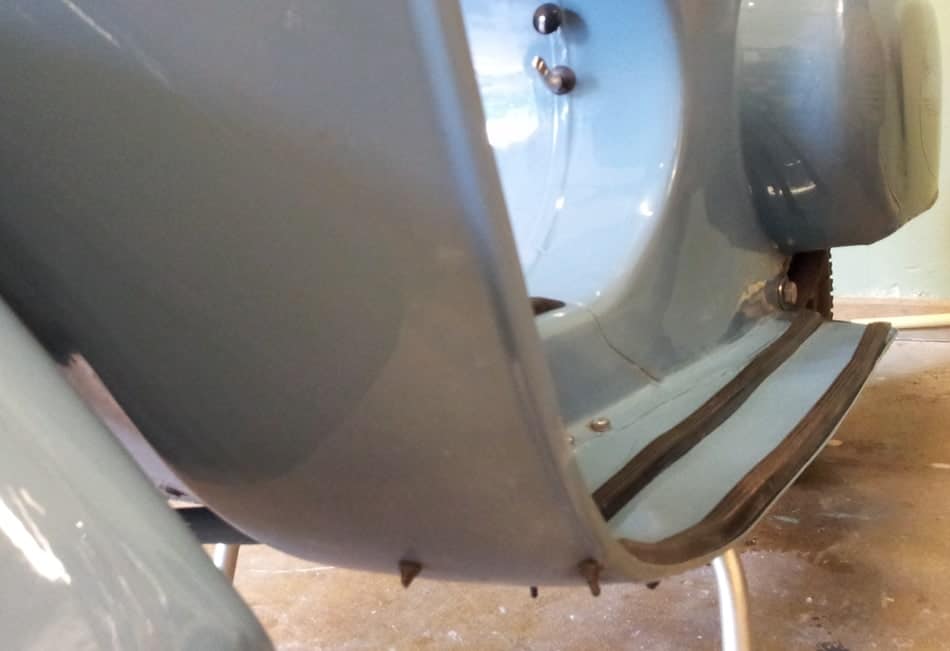
Another incident happened as well when a driver of one of our Vespa Sprints fell. There were a couple of scratches and a dent in the cowl. While this was all repaired for USD 400 with aerosol paint alone we also had to replace the side strips, mirror, brake handle, and windscreen. In the end, it was a total of USD 900. So the price can easily double if there are more dents, scratches, or other damages caused in case of a collision, etc.
The cost of one dent alone depends on the repair process. A Paintless Dent Repair (PDR) is repairing the dent without repainting the area. This type of repair is far cheaper than getting the dent out, sanding the area, applying body filler, and primer, and repainting the area after. The latter is much more time-consuming and with the Vespa, you will likely need to repaint large areas to avoid color differentiation.
The material for a dent repair isn’t expensive. You have to pay for the hours put into it. The more difficult the dent the more expensive it will be.
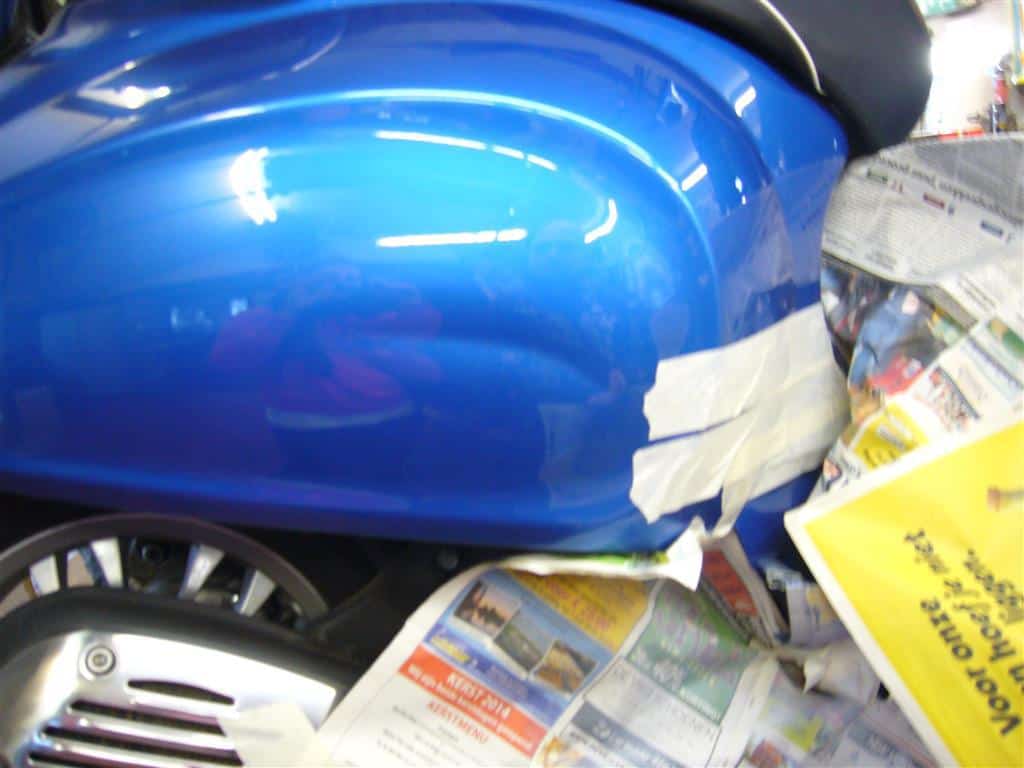
The price of a Vespa dent repair is determined by the following factors:
- The size of the dent; a huge dent is more work than a small one
- Depth of the dent; a large shallow dent is easier to repair than a small deep dent
- The shape of the dent; a twisted dent is far more difficult to repair
- The location of the dent; if there is enough space behind the dent it is easier to repair than if you need to remove parts to reach the dent.
- Is the dent in a crease/body line of the frame? A flat surface with a dent is easier to repair than an area with details
- Is the dent affecting other parts of the Vespa?
- How must the dent be removed; can you pop the dent out easily or do you need to use more than just a hammer and a dolly
- Amount of painting needed
- Is it paintless dent repair or is there a paint job involved to restore the Vespa?
A PDR can still be expensive because of the slow process of repairing the dent, it is a great way to keep the factory paint intact. However if the dent has stretched the metal, the paint is cracked, or the location isn’t good then there is no way around it. You need to have the area repainted once the dent is out.
Process of paint repair
- All parts are removed to access the dent easily
- A hammer and dolly are used to get the dent out
- Slapstick is used to stretch out the metal in the areas where the dent is lifted
- The area is sanded or filling is used to check to see which parts around the dent are still lower. Lower areas around the dent must be raised to straighten the metal
- Filler is applied for minor imperfections on the surface
- The area is polished by using a metal polish grinder or by hand with sandpaper.
- Once the dent is completely gone, the primer is applied. Areas that will not be repainted are covered.
- Paint is applied and the Vespa is looking brand new again.
4. Use DIY dent and scratch removal on your Vespa
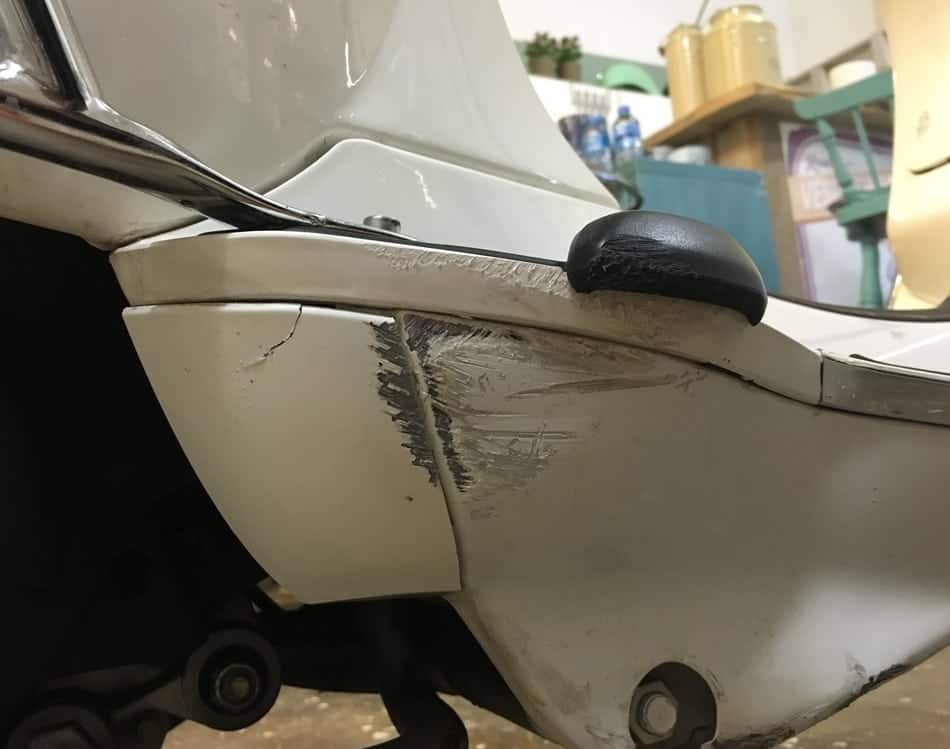
Like a car, there are many things on the market that you can use to disguise dents and scratches on your Vespa. Don’t expect to have your Vespa looking brand new again, but sometimes it is a good alternative to remove the paint or use body filler and pay USD500 to have it done.
Repairing the dent or scratch yourself is a good option if it is just something minor but is just too annoying to see every time you go for a drive. You can always see what the result is if you do it yourself. Then when it is still not as you wish, you can always consider heading to the body repair shop to have it done properly.
A bit of know-how before repairing the dent yourself:
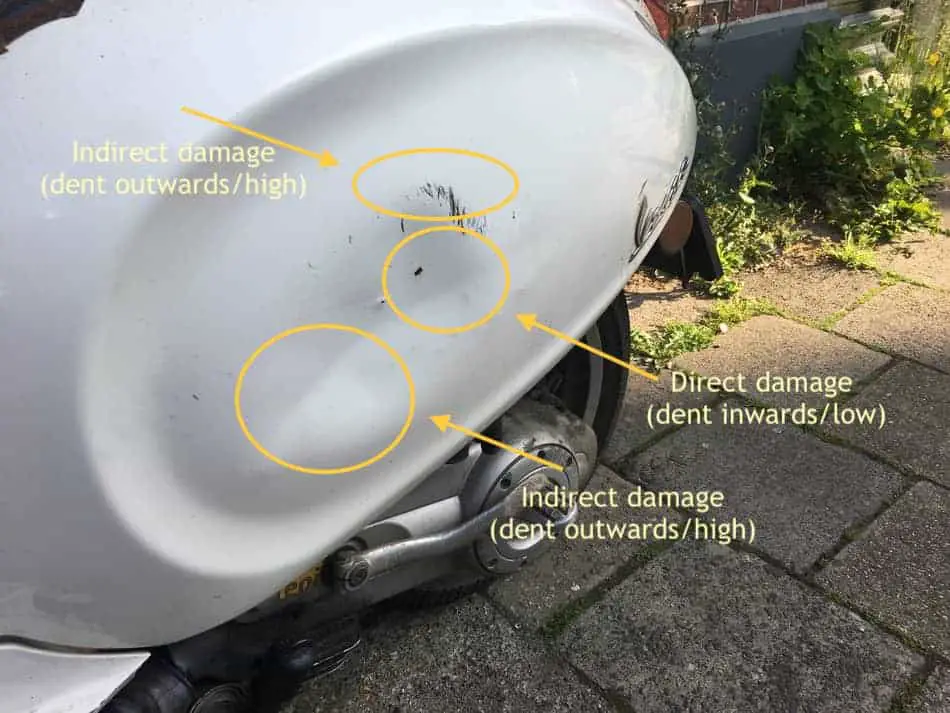
When beginning repairs, the first thing that you want to determine is the ‘direct damage’ and the ‘indirect damage’. The direct damage is where the Vespa is hit and where the metal is pushed in first. Indirect damage is the damage that is a result of direct damage. This is the high area around the dent.
It is important to have that visually determined before starting to repair it as there is a golden rule you must apply:
The first in, the last out
collisionblast.com
This means that the direct damage is the last area you want to repair. If you immediately start with the direct damage the metal will stretch leaving you with high and low areas in the metal. After a while, the metal will start to crack and brittle.
It is important that you take little steps and be patient. It is a skill that takes time to master. Never use force as this will again lead to stretched and high metal. To successfully straighten the metal try to pull on the low areas and at the same time roll to the high areas in the metal. Use the reflection of light over the dent to check if you have been able to straighten out the metal.
There are all kinds of dent removal kits mainly focused on cars but are suitable for Vespas too. The type of dent removal tool depends on the size of the dent and its location.
Pushing the dent out by hand
It sounds straightforward, but you can always give it a go and push the dent out with your hand. You need to have enough space to place your hand on the lower side of the dent (on the inside of the frame), so this is mostly possible with dents on the Vespa cowl.
Make sure you don’t focus on the low side of the dent (inside the frame) only but also on the high areas (outside of the frame). So while you slightly push down the low part of the dent with one hand, at the same time push slightly the higher part of the dent with your other hand. Don’t hit the dent with your hands, but forcefully push and make a rolling movement to take it out.
Scratch Remover Creme
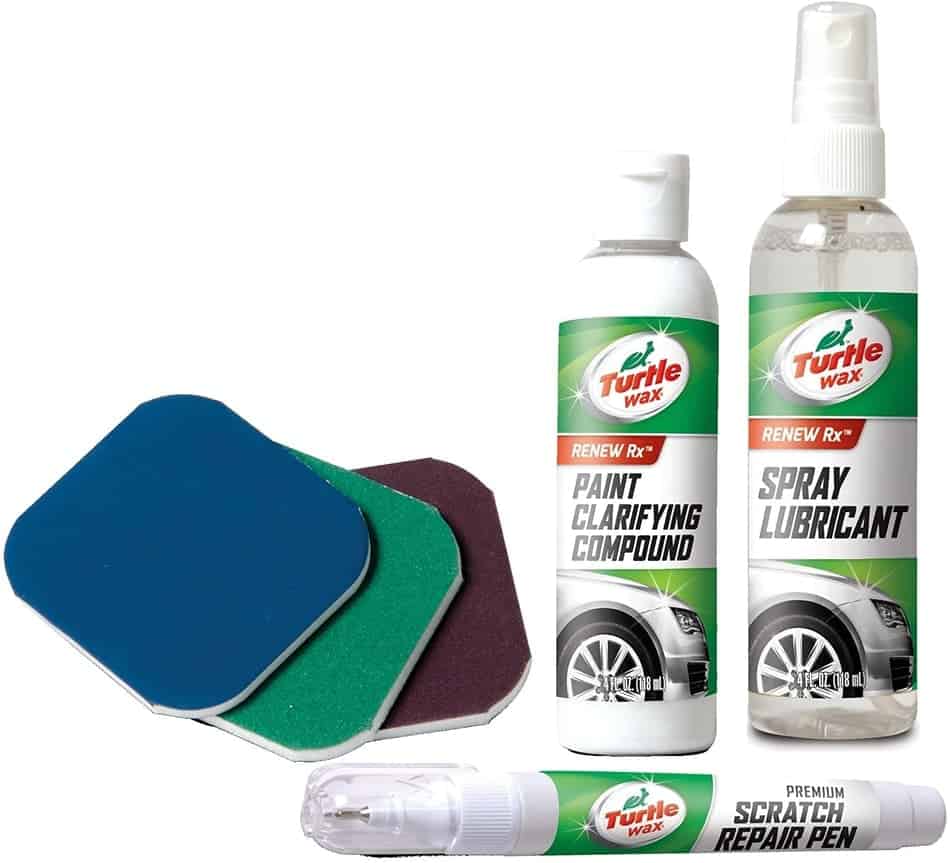
If you have a surface scratch, such as fine lines when you accidentally used the rough side of a sponge then a scratch remover creme is enough to have it looking good again. Turtle Wax is the most famous brand when it comes to car wax and scratch remover.
Not only is it good to remove light surface imperfections and wear, but it will also give the paint of your Vespa a boost. Make sure you clean the Vespa properly first to remove sand grains and dust. You don’t want little rough particles on your Vespa when you are polishing the wax on your frame.
Vespa Touch-Up Paint
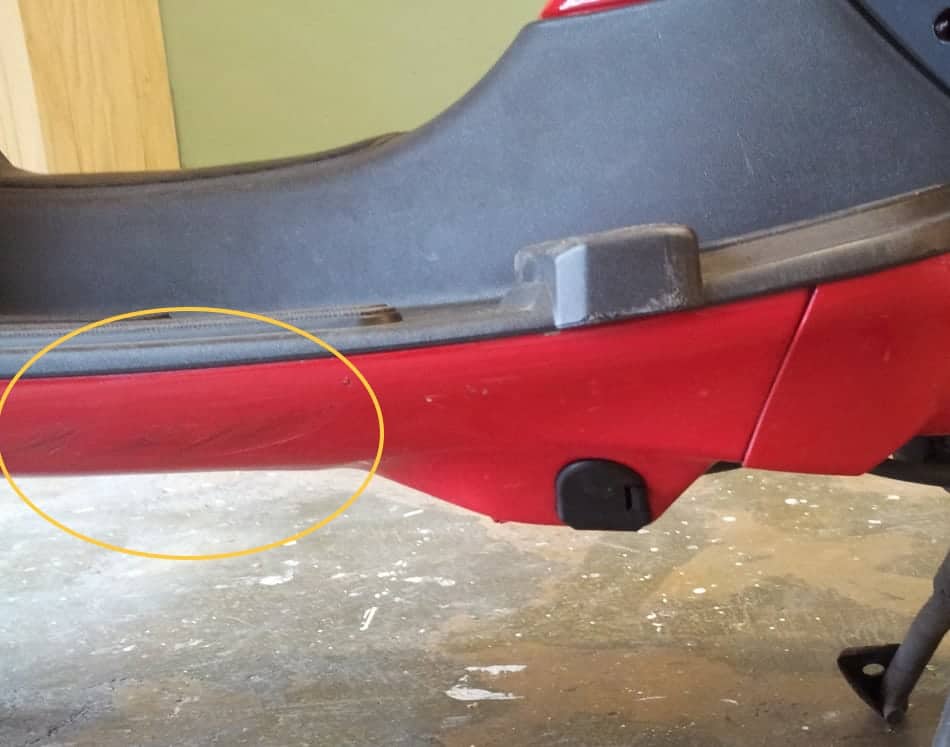
If you have small paint scratches on your Vespa then you might want to try using Touch Up Paint first. You have to apply the paint with a tiny brush. It is a bit like nail polish, so you can’t apply it on large surfaces. We usually used this in places that were not that visible, such as the sides of the floorboard or mudguard.
For large surfaces, you can consider an aerosol. This will give a thin film of paint on the damaged surface, making it less noticeable than using the brush.
There are all kinds of levels of touch-up paint. If the damages are light you can just go for the paint which usually comes with a final coating. But there are other touch-up paint kits for deeper scratches which also include a primer and a polisher. This will have a much better result in the end.
You can easily find Vespa Touch-Up Paint online. If your Vespa has its original color then all you need to do is look up the 3-digit color code located under the seat of your scooter or in the inner wall of the frame. Unfortunately, matte colors don’t work well with touch-up paint. If you want to repair a dent or scratch it has to be repainted by a professional.
Dent/ Decal Sticker
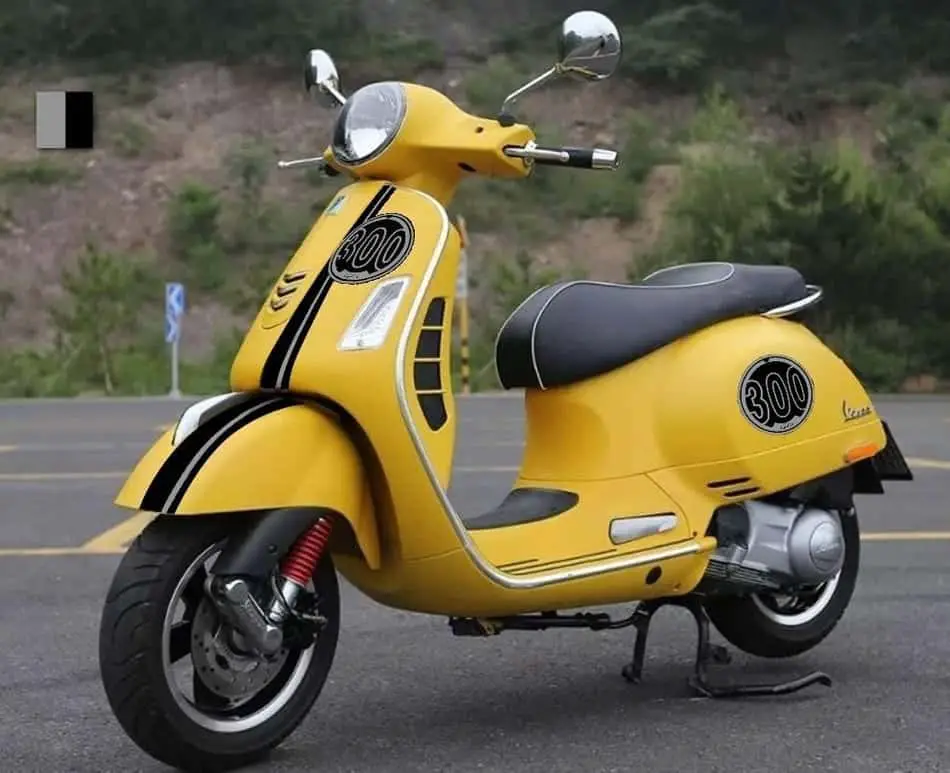
A dent sticker kit is an easy and cheap way to hide damage on your Vespa. But obviously, a dent sticker is only a good solution if the dent is located somewhere suitable for a sticker. The cowl of a Vespa is one of the most common places where a Vespa has dents. In this case, a dent sticker is a great solution. It even adds a personal touch to your Vespa
There are all kinds of stickers available: stickers with the colors of the Italian flag but also stickers that are specifically made for a certain Vespa model.
DIY Dent Removal Kits
While the earlier suggestions mainly focus on paint damages, to fully tackle a dent or ding you can consider purchasing a dent removal kit and try getting the dent out yourself. In most cases, it includes a hammer with a rubber head which you use to pop out the dent. If all fails, the damage is done anyway and the body repair shop will still be able to get it back to its previous grandeur.
The DIY dent removal kits are for paintless dent repair (PDR) only. This means that if you do it properly, you don’t need to sand, primer, and repaint the surface once the dent is out. PDR is only suitable if the paint in and around the dent is still intact. Work very slowly and patiently to get the best results.
PDR is not suitable for corners, creases, and lines in the frame. For this, you need to head straight to the body repair shop.
Here are a couple of examples of DIY dent repair kits:
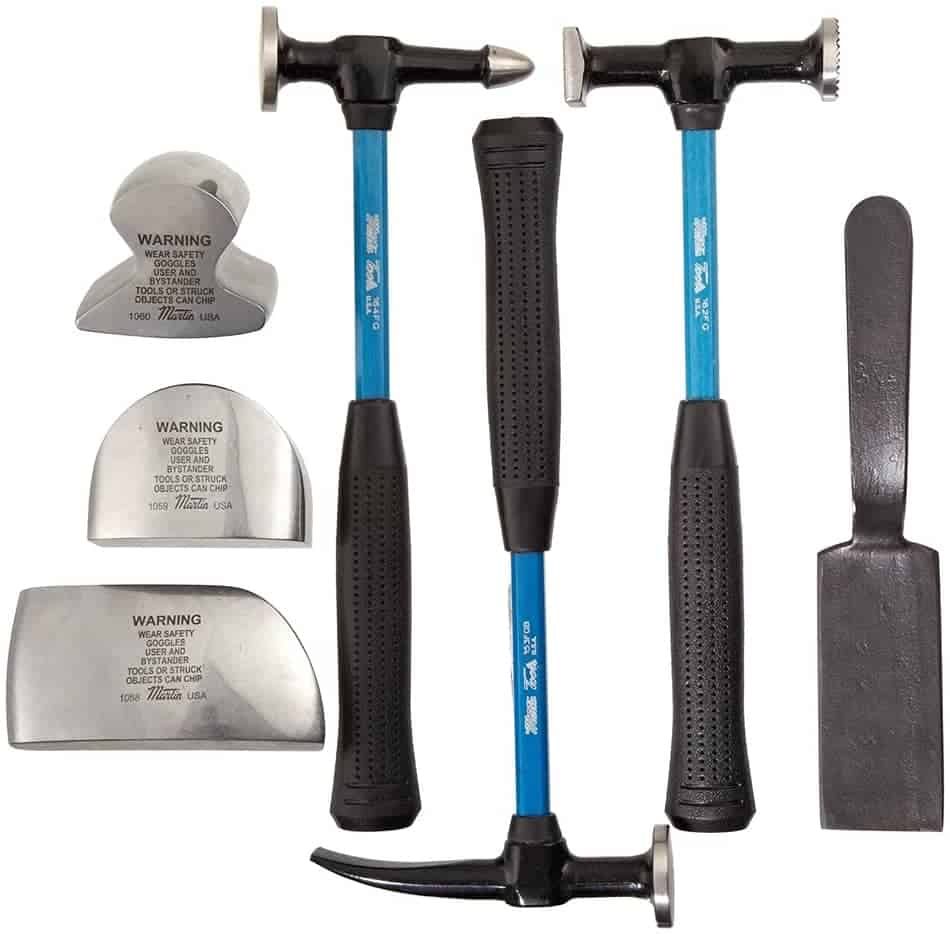
Hammer and Dolly: A dolly is a block of metal that comes in all forms and sizes. It isn’t the ideal tool if you have limited access. But if you can get to both sides of the panel a hammer and dolly method may be the easiest repair method. The mudguard, the leg shield, and the cowl are good places.
Depending on the form of your frame you need to choose the correct dolly. Place the dolly on the inside of the frame while using the hammer to hit the dented metal on the outside of the frame. This is probably going to be the fastest and easiest way to repair the damage. Again, don’t immediately place the dolly on the direct visible damage. Instead, focus on the indirect damage (high metal around the dent) first.
Tap-Down Pen (with rods): This tool is good for small dents and dings. These pens have a rubber end and come in various forms and sizes. While hitting the pen with a hammer you can slowly tap the area around the dent. If done correctly, the dent will pop out.
Some of the kits that have a tap-down pen also come with rods. The Paintless Dent Repair rods are ideal to access areas within the Vespa body. All you need to do is to push the rod into the backside of the dent to pop it out. You might need to heat the metal slightly with an acetylene torch.
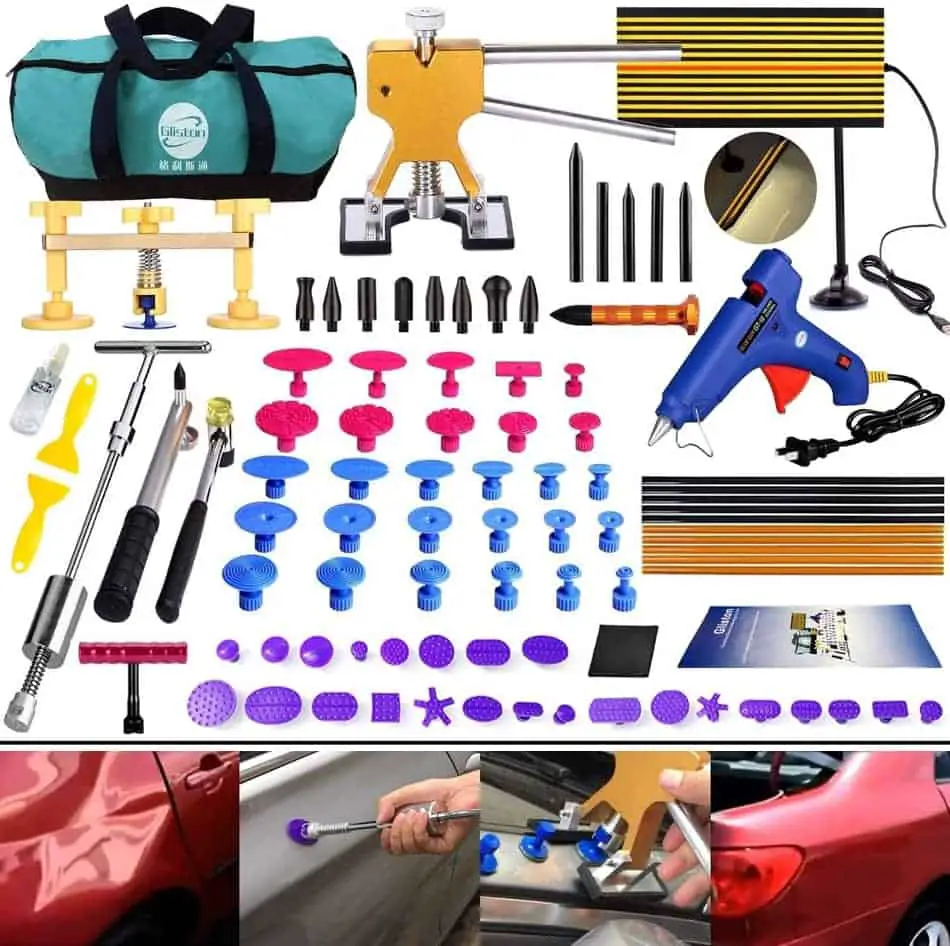
40 to 54 piece tool kits: For middle to large-size dents you might want to find a more extensive toolkit. All kinds of kits include a hot glue gun, glue, a dent lifter, a tap-down pen, a rubber hammer, puller tabs, a small plastic scraper, and more. Luckily all of them come with an instruction manual.
But basically, you need to apply the hot glue to a tab that is the size of your dent and use the dent lifter/puller to pull on the tab. With this outward motion, your dent should pop out. With the tap-down pen, you can remove further unevenness in the metal frame.
5. Use crash bars to protect your Vespa from dents
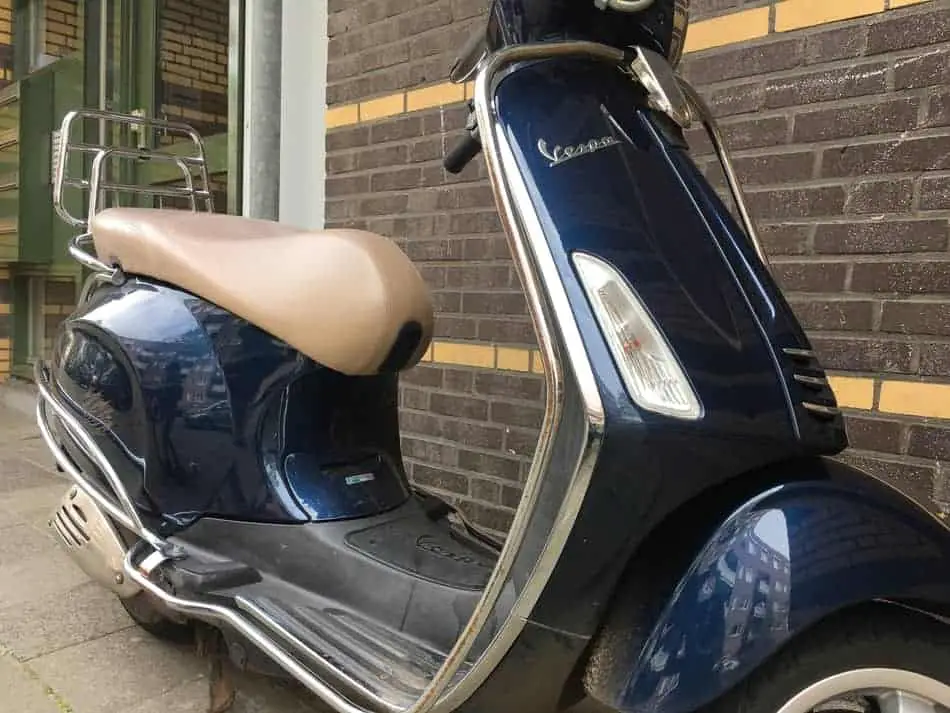
The best thing to keep your Vespa looking pristine is to avoid getting dents and scratches in the first place. That is of course easier said than done. But here are a couple of tips you might want to consider to avoid paying more for dent repair.
- always park your Vespa on the center stand (also known as a kickstand)
- don’t park near bicycles as they can easily fall on your Vespa
- don’t park behind or in front of big cars, as they might not see your Vespa
- install crash bars. Vespa has mudguard, rear – and front crash/protection bars.
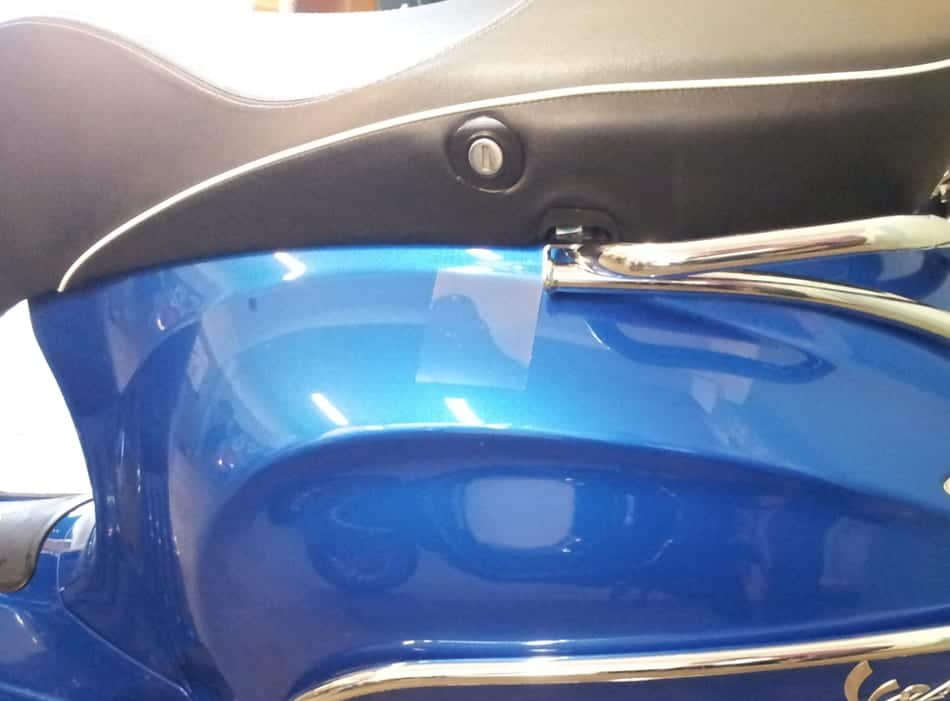
- apply invisible stickers on areas prone to scratches. We applied a small invisible sicker just under the seat near the seat lock. We noticed that the keyholder would cause small scratches and dings on the paint.
